Quick Answer
Stop the microwave as soon as you see sparks. Metal in the cooking cavity, burned-on food, and a damaged waveguide cover are the most common causes. Let the microwave stop and any smoke clear before opening the door.
If you see flames, keep the door closed. Unplug the microwave only if you can do so safely. Call 911 if the fire continues. Smoke from outside the cooking cavity or a sharp electrical smell means leave the microwave unplugged.
Most Likely Causes
Metal in the cavity
Foil, twist ties, utensils, and metallic trim on dishes can cause sharp flashes or popping. A supplied rack can spark if it is misplaced or used contrary to the owner's manual. Removing an obvious loose item is homeowner-safe if the cavity is undamaged.
Burned-on food or grease
Splatter on a cavity wall or ceiling can char, spark, and smoke. Once the microwave is unplugged and cool, cleaning accessible surfaces is homeowner-safe.
Damaged waveguide cover
The waveguide cover is a small panel, often on a cavity wall, that protects the opening where microwave energy enters. A burned cover may spark repeatedly in the same spot. Leave it in place and have the damage assessed.
Damaged cavity coating or rack support
Chipped coating, exposed metal, or a burned rack support can arc even with a plain dish. If a dark mark will not wipe away or you see physical damage, stop using the microwave.
Stirrer fan or cover damage
Some microwaves have a stirrer fan behind a cover near the cavity ceiling. It distributes microwave energy. A damaged or stalled stirrer assembly can cause repeated arcing or scorching near that cover. Inspection or repair is technician work.
Fault outside the cooking cavity
Smoke from a cabinet seam or vent with no food burning inside may indicate an overheating electrical component. Leave the microwave unplugged rather than removing its cabinet.
Safe Checks to Do First
- Stop the cycle. If there is no fire, unplug the microwave and let it cool.
- Check the dish and packaging for foil, twist ties, utensils, or metallic trim. Use a supplied rack only as the owner's manual directs.
- Wipe accessible food splatter from the walls and ceiling with a damp cloth and mild dish soap. Keep water out of openings and avoid scraping covers.
- Look for a burned waveguide cover, chipped coating, damaged rack support, or scorch marks near a ceiling stirrer cover. Leave covers in place. Any visible damage is a stop point.
- On an over-the-range microwave, clean the removable grease filter and replace the charcoal filter, if fitted, as the manual directs. These filters can hold cooking odors but will not fix cavity sparks.
If you removed an obvious metal item, found no damage, and cleaned away residue, you can try one short check with a microwave-safe cup of water. Never run the microwave empty. Stop if sparks or smoke return.
What the Symptoms Usually Mean
Sparks in one spot every time
Repeated flashes in one spot most often point to a burned waveguide cover or damaged cavity surface. Scorching at a ceiling cover can also point to the stirrer assembly. Stop testing it.
Microwave smokes when on
Smoke rising from food usually points to burning food or grease. Smoke from a cabinet seam, or smoke with no visible source inside, points to a fault that needs inspection.
Sparks stopped, but food no longer heats
This points to a separate heating fault or damage after the arcing. See our guide to a microwave that is not heating for the next decision points.
When to Stop DIY and Call a Technician
Leave the microwave unplugged if sparks return, a cavity part looks burned, smoke comes from outside the cavity, or an electrical smell persists. A damaged door, latch, or door seal is also a stop point. The cabinet contains high-voltage parts that can remain dangerous after unplugging, so internal diagnosis and disassembly are technician work. Arrange microwave repair service instead of opening it.
From Our Repair Log
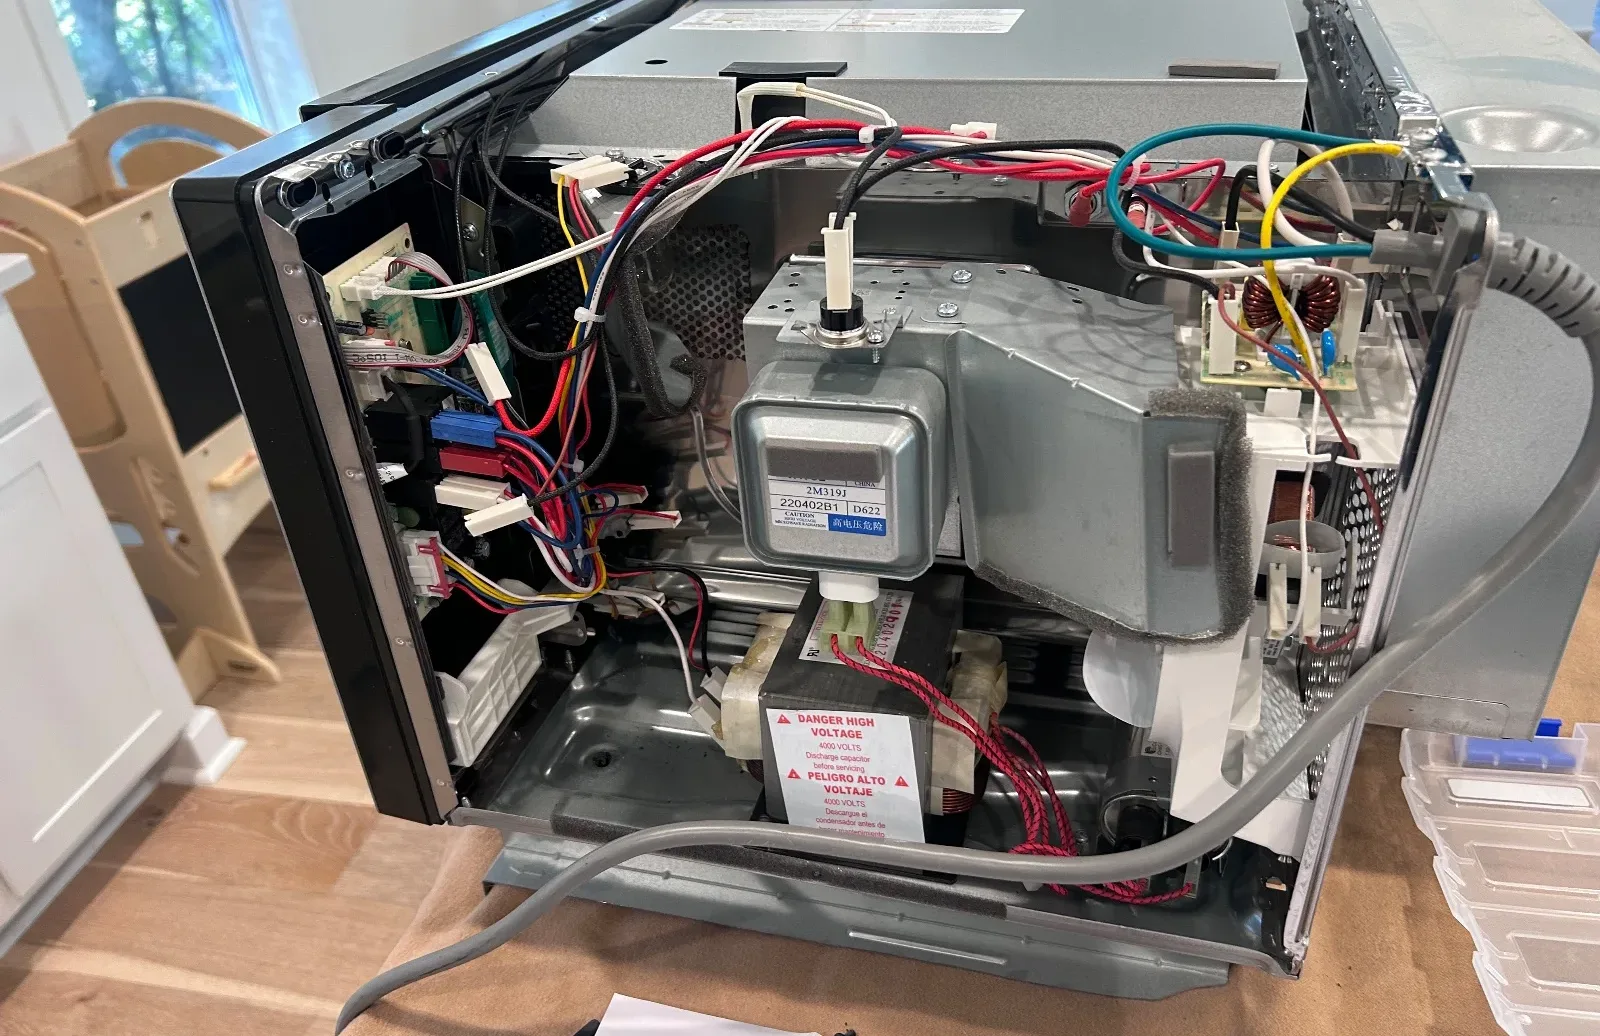
July 2025: Whirlpool Microwave. Light Socket Holder Replacement in Raleigh
We started by confirming the bulb was good and checking that it was seated properly. Then we unplugged the microwave, took off the outer housing and got to the light socket holder behind the cavity wall.